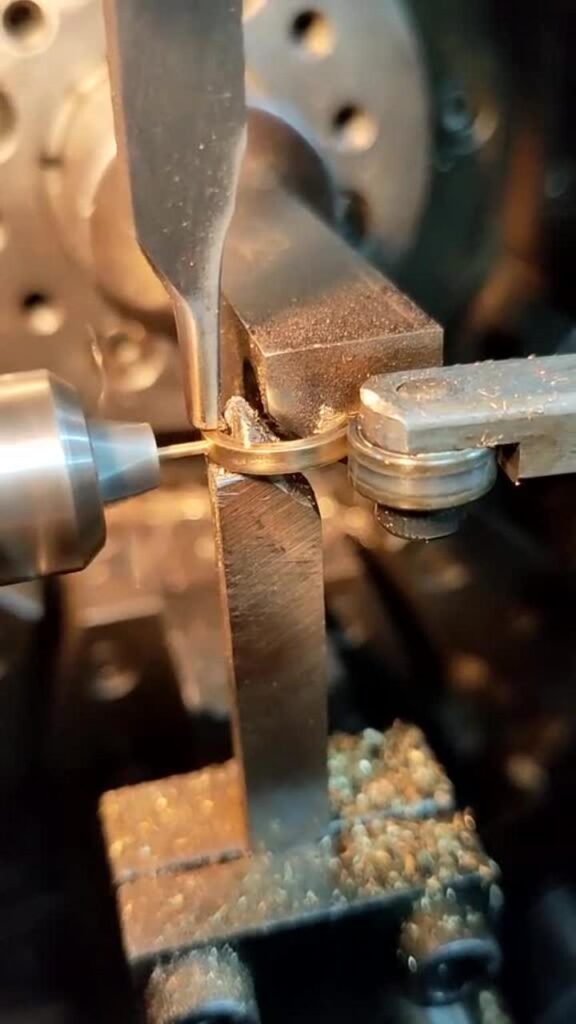
For customized prototypes with complex surfaces and high precision details, the finished product qualification rate can be improved through the full process optimization of “design prepositioning – process adaptation – process control – post-processing – full inspection”:
1. Pre-design optimization: When modeling with professional 3D software, optimize the fillets at the transitions of surfaces to avoid stress concentration. When converting to STL/OBJ format, increase the mesh precision parameter to prevent model distortion. For thin-walled surface structures, refer to the process standards for parts with a wall thickness of 0.5mm, design tree-like support structures in advance to avoid the risk of printing broken walls, and reserve reasonable tolerances to cope with processing errors.
2. Precise adaptation of processing technology: Prioritize SLA stereolithography 3D printing to achieve one-time molding of complex surfaces, using high-precision resins such as Somos WaterShed 11122; if hard materials are required, adopt CNC machining, paired with a 0.5mm high-precision milling cutter, set at a speed of 12000r/min and a helical feed method, ensuring surface roughness Ra≤0.8μm through precision machining; use a tool presetting instrument to replace manual tool presetting, eliminating tool presetting errors.
3. Dynamic process accuracy control: During printing, set the layer thickness to 0.05mm and the exposure time to 8s, and monitor the equipment operation status in real time. Before CNC machining, perform tool path simulation to identify and mitigate the risk of overcutting in advance. For complex curved thin-walled parts, strictly follow optimized process parameters to avoid burrs and broken walls.
4. Fine post-processing: After removing the support from the printed parts, use sandpaper with a mesh size of 2000 or higher to gradually polish the curved surface, and use ultrasonic cleaning to remove debris. For CNC parts, use an oilstone to finely polish the right-angle burrs, preserving the integrity of the details.
5. Full-process quality inspection: Utilize a three-coordinate measuring machine to inspect dimensions and positional accuracy, ensuring errors are controlled within ±0.02mm. Simultaneously, conduct functional testing to verify the fit of curved surfaces and the strength of details. Non-conforming parts are promptly repaired to ensure finished products meet design standards.
Metalstar has been deeply involved in the prototype industry for many years and will provide you with the highest quality service!

